
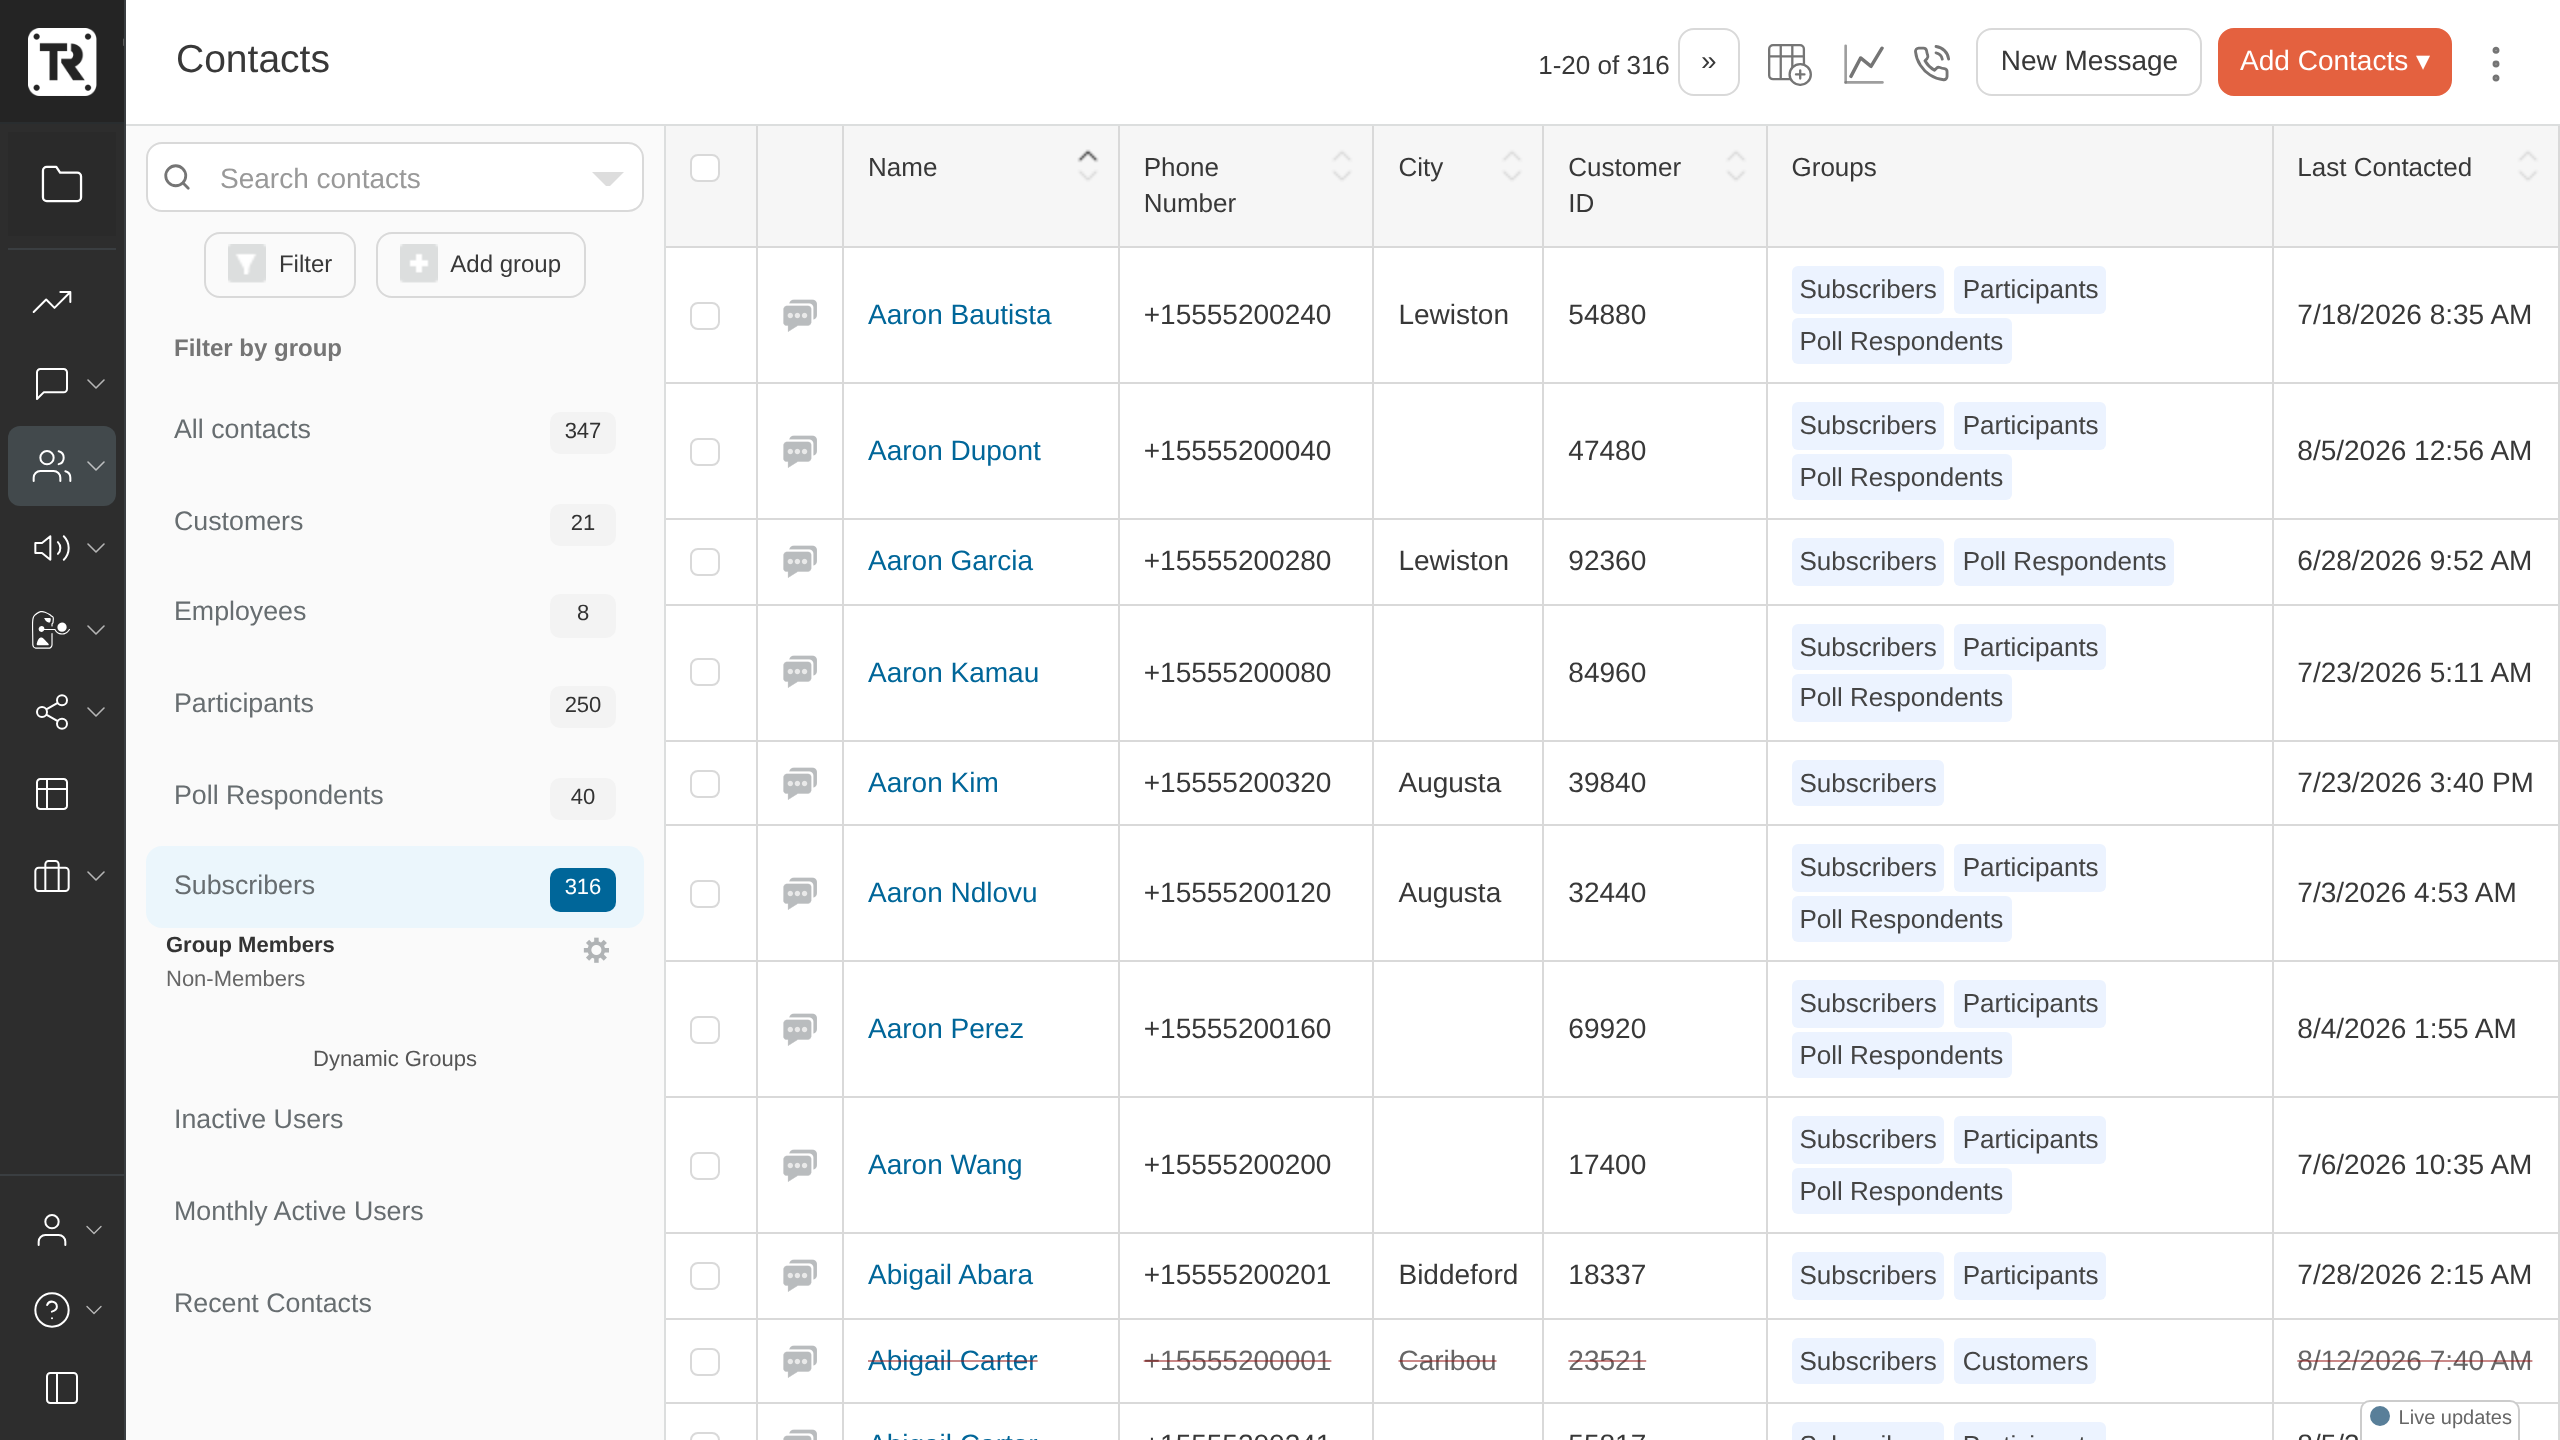
Telerivet’s Contacts page makes it easy to view and edit your contact information, organize your contacts into groups, and easily filter and search your contacts. In short, it's a simple CRM for all of your organization's mobile contact information.
Adding and Editing Contacts
To add a new contact, click Add Contacts at the top-right, then click Add new contact, then enter their contact information:
To add other custom fields (email address, birthdate, city, notes, etc.) click Add field...
To edit an existing contact, click the contact's name (or any other field) in the table.
It isn't necessary to add contacts before sending messages -- by default, Telerivet will automatically create contacts for each phone number you communicate with. When a contact is created automatically, Telerivet will set its name to be initially the same as its phone number.
Viewing Messages for a Contact
To view the conversation history for a particular contact, click the icon to the left of the contact's name. This shows the same view as clicking on the contact's name from the Messages page:
Customizing Columns and Sorting Contacts
To customize which fields are visible in the Contacts table, click the icon at the top-right of the page. (At least one contact must be displayed in order for the header row to be visible.) Then select which columns to display:
By default, Telerivet sorts contacts by name. To sort contacts by another field, simply click the name of the field in the header row. Contacts can be sorted by any field (except Groups) in ascending or descending order.
Selecting Contacts and Applying Actions
The Contacts page makes it easy to apply various actions to one or more contacts, such as sending an SMS message, adding contacts to groups, blocking/unblocking contacts, and deleting contacts. When one or more contacts are selected, these actions appear in a bar at the bottom of the page:
In order to apply these actions to particular contacts, first select the desired contacts. To select/deselect a contact, click the checkbox at the left of the contact. To select or deselect all contacts, click the "select all" checkbox in the table’s header row, at the top of the column of checkboxes. By default, the "select all" checkbox will only select the contacts that are currently visible on the current page. If there is more than one page of contacts, click the "Select all XXX contacts" link to select all contacts in the currently active group, search, or filter.
After selecting contacts, you can:
- click Group to add or remove all selected contacts from a group
- click Message to send a message to all selected contacts
- click the phone icon at the top-right of the page to send a voice call to the selected contacts. Person-to-person calls only work with 1 contact at a time, but text-to-speech, recorded audio, or IVR calls can be sent to many contacts at once. (The call icon may not be visible if your project has disabled voice calls. Administrators can enable Voice Calls under Dashboard > Project settings)
- click Services to run a custom action (an automated service) on the selected contacts
- click Delete to delete the selected contacts
- click More > Update field to update the value of a particular field on the selected contacts
- click More > Block sending to block yourself from sending messages to the selected contacts
- click More > Unblock sending to unblock yourself from sending messages to the selected contacts
In addition, you can click Services > Add service to define new custom actions that appear in the Services menu, which can help save time if you find yourself frequently performing the same task with different contacts.
Comments
0 comments
Please sign in to leave a comment.